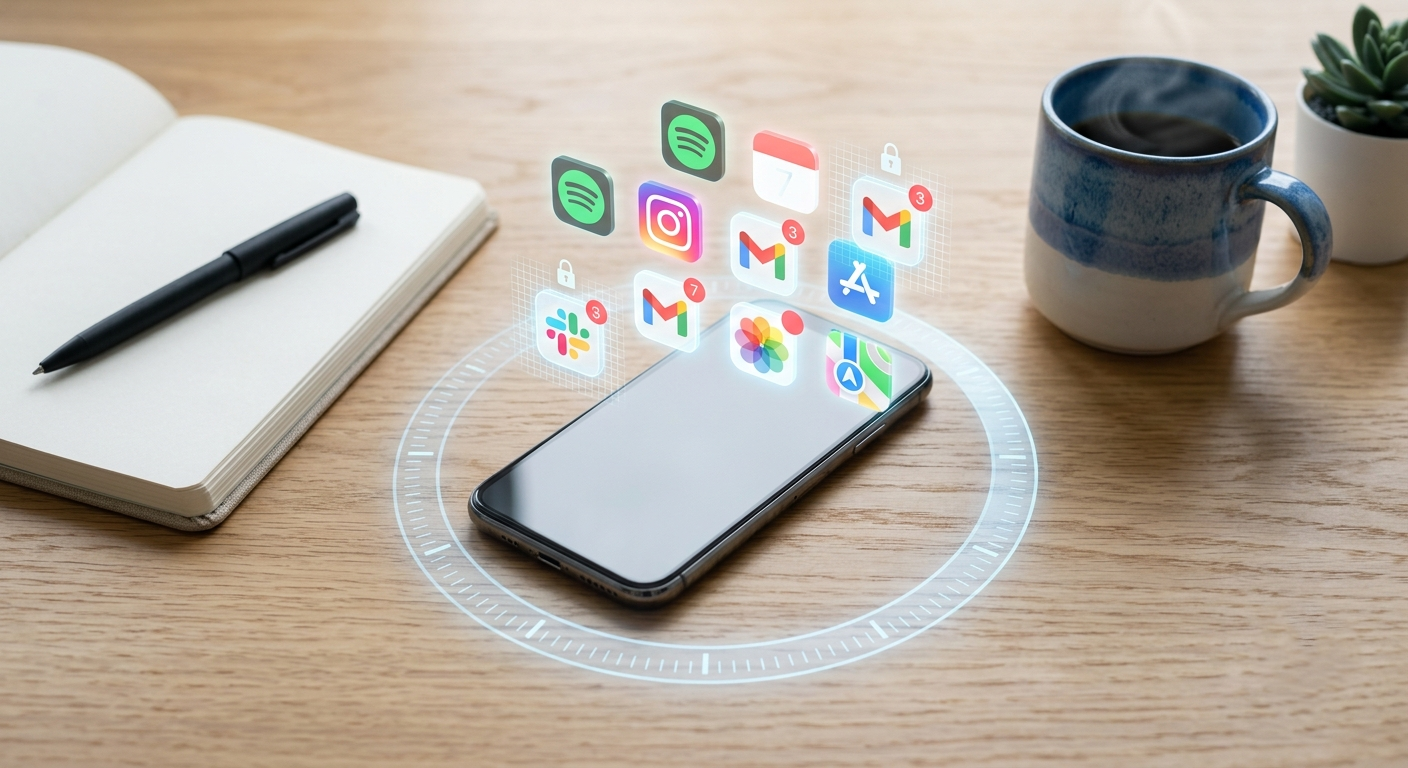
Have you ever found yourself caught in the endless loop of scrolling, promising yourself “just one more minute,” only to realize hours have slipped by? You’re not alone. Distraction-blocking software has become one of the more reliable ways to reclaim that time, since Apple’s built-in Screen Time often falls short of the boundary enforcement most people actually need. Research on social media usage trends shows how often people check their devices in a given day, which is exactly why a soft reminder rarely works and something closer to a hard stop does.
Quick answer: To block any app, open Settings → Screen Time, set a Screen Time passcode, then tap App Limits → Add Limit. Pick the app, set it to 1 minute, and turn on Block at End of Limit. For stronger blocking that’s harder to undo, use a third-party blocker like Opal or One Sec.
How to Block an App on iPhone with Screen Time
- Open Settings and tap Screen Time. Turn it on if it’s off.
- Tap Lock Screen Time Settings and create a 4-digit passcode. Use a different code from your phone’s unlock code, and if you’re blocking apps for yourself, ask someone else to set it.
- Tap App Limits, then Add Limit.
- Select the app you want to block, or a whole category like Social, and tap Next.
- Set the time to 1 minute and choose Every Day.
- Turn on Block at End of Limit, then tap Add.
Once that minute is used, the app locks and can’t be opened without the passcode.
Leave Block at End of Limit off and Screen Time falls back to an Ignore Limit override, which is why this toggle matters so much.
Hide Apple’s Built-in Apps Completely
For Apple apps like Safari, Camera, or FaceTime, you can remove them from your home screen entirely:
- Go to Settings → Screen Time → Content & Privacy Restrictions and switch it on.
- Tap Allowed Apps.
- Turn off the toggle next to any app you want gone. Its icon disappears until you switch it back on.
How to Block Apps with a Third-Party Blocker
Screen Time is easy to undo once you know the passcode. A dedicated blocker makes that harder.
- Download a blocker from the App Store, such as Opal, One Sec, or Freedom from the list below.
- Open it and tap Allow when your iPhone asks to give it Screen Time access. Confirm with Face ID or your passcode.
- Choose the apps or categories you want to block.
- Set a schedule, or start a focus session. Pick the strictest mode if you tend to cancel sessions early.
- Try opening a blocked app. You should see the blocker’s screen instead of the app.
Tip: To stop yourself from simply deleting the blocker, go to Content & Privacy Restrictions → iTunes & App Store Purchases → Deleting Apps and choose Don’t Allow.
This method is free and usually enough for light use or for parents managing younger kids. If it hasn’t broken the habit, a dedicated blocker adds more friction.
Part of the reason discipline alone doesn’t hold is that habit loops override it directly: the trigger-action-reward cycle repeats until reaching for your phone stops being a decision and becomes a reflex.
Not every app blocker enforces its limits the same way. We tested each of these across different use cases, student study sessions, remote work blocks, and nighttime detox windows, and ranked them by how hard they are to override in a moment of weakness. Distraction blocking software works at the system level rather than as a dismissible timer, catching an app launch before it happens, not unlike how a quality assurance consultant catches a problem before it compounds.
Even with the best intentions to limit screen time, the habit usually wins unless something outside your own willpower interrupts it. That’s what the apps further down this list are built to do.
Well-designed blockers also tend to handle notifications thoughtfully. The better ones, often built by an experienced iOS App Development Company, include smart notification management so alerts don’t pile up while you’re trying to stay off your phone.
Before installing any of these, it’s worth a quick check of each app’s privacy policies to see how your usage data actually gets handled.
Quick Comparison
- Most Strict: Opal – no easy override, but premium features require a paid subscription (~$4.99/month)
- Best for Students: Flipd – scheduled lock mode, free tier available with core features
- Best Free Option: Built-in Screen Time – zero cost, already on your iPhone, good enough for light use
- Best for Impulse Control: One Sec – adds a friction pause before apps open, free for one app, paid for unlimited
- Best for Multi-Device: Freedom – blocks across iPhone, Mac, and browser simultaneously, subscription required
- Best for Awareness Without Blocking: RescueTime – detailed usage reports, no hard blocking, free and premium tiers
- Best for Digital Detox: Offtime – custom quiet hours, good for nighttime use, one-time purchase
FAQs
Open Settings → Screen Time and set a Screen Time passcode. Then tap App Limits → Add Limit, choose the app, set the limit to 1 minute, and turn on Block at End of Limit. For Apple’s own apps like Safari, you can also hide them under Content & Privacy Restrictions → Allowed Apps.
Yes, they help manage usage, block apps, and set daily limits. However, they work best when combined with clear rules and communication at home.
It depends on how they’re set up. If protected with a strong passcode or managed by a parent, they’re harder to disable. Without proper setup, they can sometimes be bypassed.
Most well-known apps are safe from official app stores; always check permissions and privacy policies before installing.
Trusted apps usually run in the background without slowing down the device. Poorly optimized or unknown apps may impact performance.